If you want to add a personal touch to your badminton racket or support your favorite brand, stenciling your racket strings is a fun and simple way to do it. But how do you do it properly?
Stenciling your racket strings can make your racket look unique and professional, and it’s easier than you might think. Here's a step-by-step guide to get it right.
Stenciling your badminton racket strings is a great way to show off your style or brand affiliation. Whether you’re a player who wants a sleek, professional look or just someone who enjoys customizing your gear, stenciling is a fun and creative process. Let’s dive into the steps and tips to get your racket looking fresh.
Why Should You Stencil Your Racket Strings?
Stenciling your racket strings is not only about aesthetics—it can also help you identify your racket easily, especially if you play with others who have similar models. Additionally, some players use stencils to add a sense of professionalism to their setup.
Stenciling can improve the appearance of your racket while making it easier to identify, and it might even give you a psychological edge with a unique design.
Many players stencil their racket strings with their sponsor's logo, their own initials, or a custom design. It’s a common practice among professional players, but amateurs can do it too. While stenciling doesn’t impact performance directly, it adds a personal touch and can give you extra confidence on the court. Plus, it’s a great conversation starter!
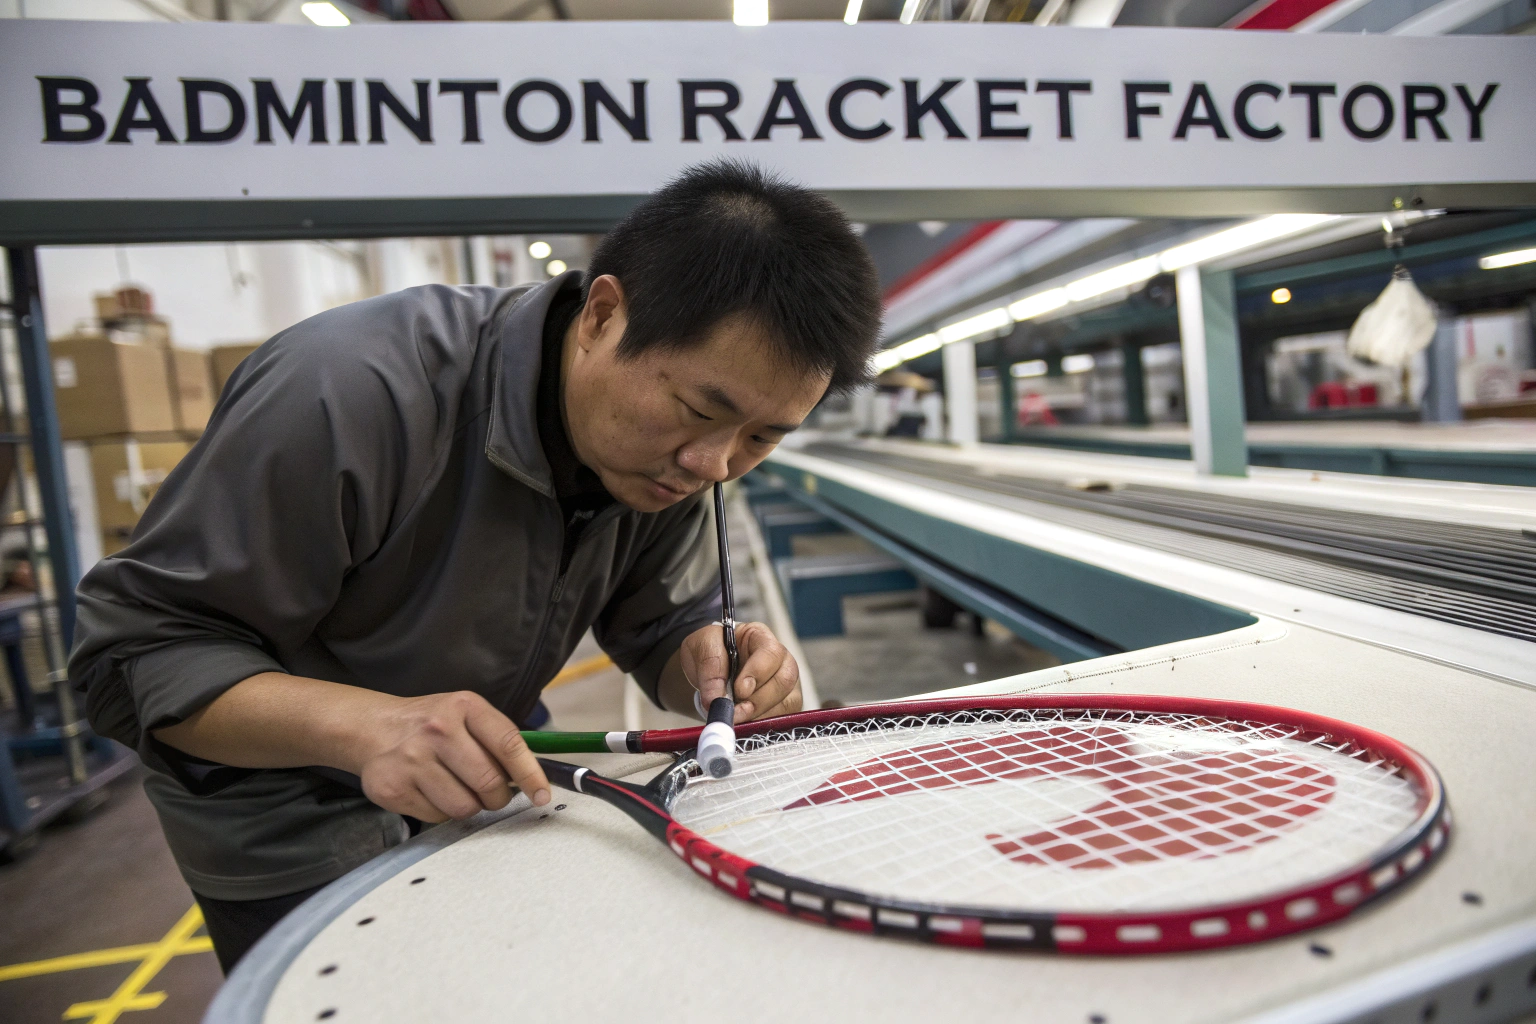
What Materials Do You Need for Stenciling?
To stencil your badminton racket strings, you need just a few simple materials. These are all easily available and fairly inexpensive.
Here’s a list of the materials you’ll need:
- String Stencil: This is a rubber or plastic stencil designed to fit over the strings of your racket.
- Stencil Ink or Paint: Special ink or paint for stenciling racket strings. These are usually non-toxic and dry quickly.
- Sponge or Cloth: To apply the ink or paint evenly.
- Tape: To secure the stencil in place while you’re working.
- Racket (obviously!): Your badminton racket with freshly strung strings.
How to Stencil Your Racket Strings: Step-by-Step
Follow these steps for a professional-quality stencil on your racket strings.
Here’s a simple step-by-step guide for stenciling your badminton racket strings:
-
Prepare Your Racket: Make sure the racket strings are freshly strung and completely dry. The stencil will adhere better to clean, dry strings.
-
Position the Stencil: Place the stencil over the area where you want the design. The strings should go through the holes of the stencil, and the stencil should sit securely over the string bed. Use tape to hold the stencil in place if needed.
-
Apply the Ink or Paint: Using a sponge or cloth, dip it into the ink or paint. Gently apply it to the stencil by dabbing rather than rubbing. This ensures that the ink doesn’t smudge, and it evenly fills the stencil design. Be careful not to apply too much ink to avoid dripping.
-
Remove the Stencil: Once you’ve applied the ink, carefully remove the stencil from the racket. Be gentle to avoid smudging the design. Let the stencil design dry for a few minutes.
-
Allow It to Dry: After stenciling, allow the design to dry completely before using the racket. Depending on the ink or paint, this may take anywhere from 10 to 30 minutes. Be patient to avoid messing up the design.
-
Clean Up: Clean the stencil and your tools after use. Make sure you store the stencil in a safe place to use for future projects.
Tips for a Perfect Stencil Design
Achieving the perfect stencil design requires a little practice. Here are a few tips to help you get it right:
Use light, consistent pressure and avoid applying too much paint for a clean, sharp design.
[image placeholder]
-
Use Light Pressure: When applying the ink or paint, use light pressure to avoid smudging. Too much pressure can cause the design to bleed into unwanted areas.
-
Test First: If you’re using a stencil for the first time, test it on a piece of paper or an old racket before stenciling on your current racket. This will help you get a feel for the process.
-
Use the Right Paint: Make sure to use stencil ink or paint specifically designed for racket strings. Regular paints might not adhere well to synthetic strings and can be difficult to clean off.
-
Avoid Over-stenciling: Keep your design simple. Too many colors or overly intricate patterns can distract from your game and may even interfere with the string's performance.
-
Make Sure It’s Dry: Before using your racket again, ensure that the stencil is completely dry. Using your racket while the paint is still wet can smudge the design and ruin the clean look.
How Often Should You Stencil Your Strings?
The frequency of stenciling your racket strings depends on how often you play and how much you want to refresh the design. For casual players, you might want to stencil every few string changes, while more frequent players might reapply the stencil design after every restring.
You can stencil as often as you like, but it’s a good idea to reapply after a restring or when the design starts to fade.
Since stenciling is applied on top of the strings, it will gradually wear off as the racket is used. If you play regularly, you may notice the design starting to fade after a few sessions. Don’t worry—simply restencil the racket after the strings are replaced. This gives your racket a fresh look each time you restring it.
Conclusion
Stenciling your badminton racket strings is a great way to personalize your equipment and make it stand out. By following these simple steps and tips, you can achieve a professional-looking design that’s unique to you. With a little practice, you’ll be able to add that personal touch to every racket you own.